RTVPatch
The Robman (Talk | contribs) (Created page with "If you need to replace the hard drive in your ReplayTV unit, you will need to reformat the replacement drive and load the ReplayTV firmware onto it. To do that, we use a program...") |
The Robman (Talk | contribs) |
||
| Line 2: | Line 2: | ||
==Connecting the harddrive to your PC== | ==Connecting the harddrive to your PC== | ||
| − | The easiest way to connect an IDE harddrive to a modern computer is by using an IDE to USB adapter, like [http://www.amazon.com/dp/B001OORMVQ/ this one] which is under $ | + | The easiest way to connect an IDE harddrive to a modern computer is by using an IDE to USB adapter, like [http://www.amazon.com/dp/B001OORMVQ/ this one] which is under $10 at Amazon. |
<br><br> | <br><br> | ||
<div class="resize">[[image:RTVPatch0.jpg]]</div> | <div class="resize">[[image:RTVPatch0.jpg]]</div> | ||
Latest revision as of 03:59, 19 February 2016
If you need to replace the hard drive in your ReplayTV unit, you will need to reformat the replacement drive and load the ReplayTV firmware onto it. To do that, we use a program called RTVPatch
Connecting the harddrive to your PC
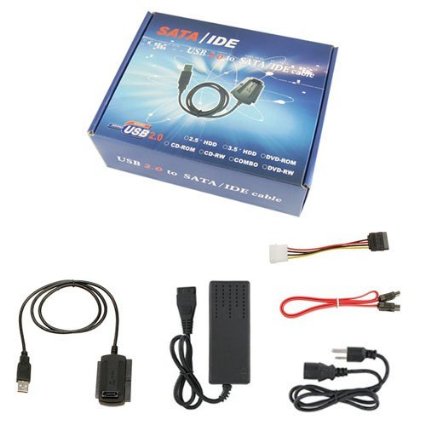
The easiest way to connect an IDE harddrive to a modern computer is by using an IDE to USB adapter, like this one which is under $10 at Amazon.
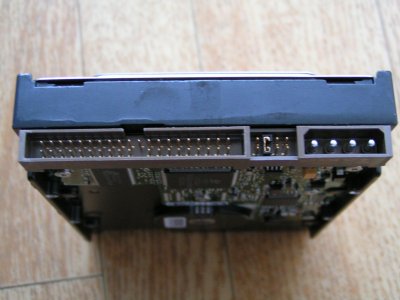
Connect the USB end of the main cable (above left) to your computer and the other end to the connector shown on the left below. (There is a larger and smaller side to the connector, the smaller side is for laptop drives, the larger side is for regular drives, and that is the side you should use). The kit also includes a power adapter (above middle and lower right), connect the two parts and plug it into the electricity, then connect the 4-hole plug to the connector shown on the right below. The other cables included in the kit are for SATA drives and are not needed for this process.
RTVPatch
Next, you will need to download RTVPatch and the build 144a firmware.
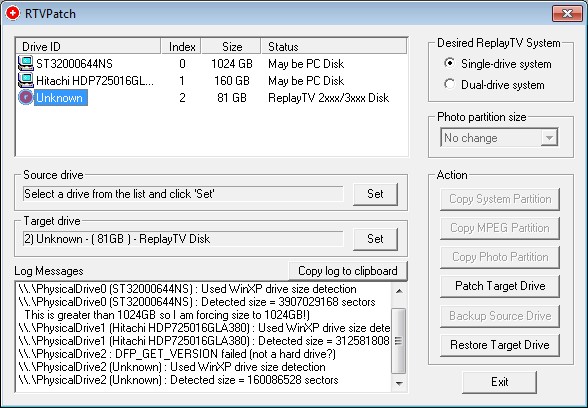
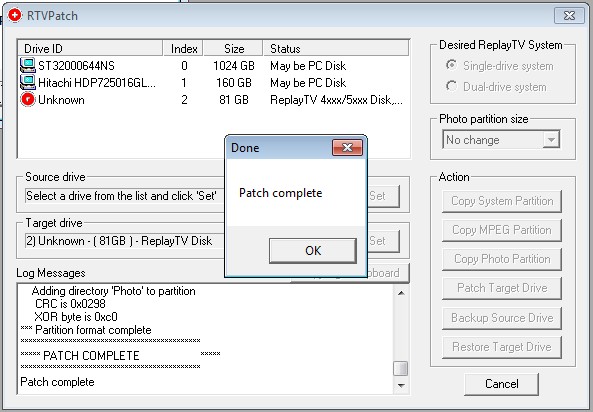
When you fire up RTVPatch, you will see all the drives currently connected to your system, including your regular PC drives. You should select the drive that you are intending to reformat for Replay and click the "Set" button in the "Target" section.
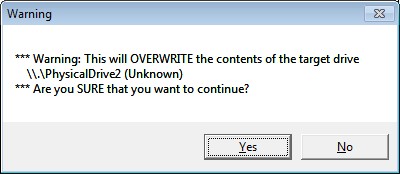
You will get a pop-up message warning you that this process will erase everything on the drive, click "Yes" to continue.
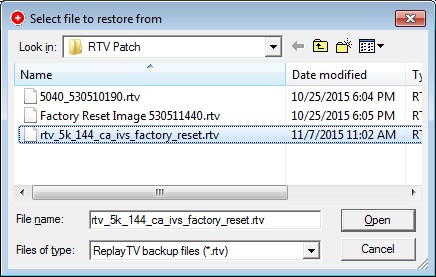
Next, you will click the "Restore Target Drive" button and select the build 144a firmware that you downloaded.
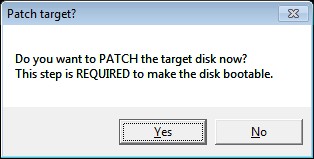
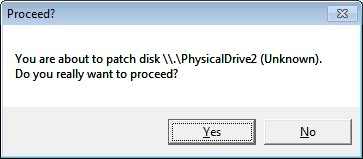
The restore might take 5 minutes or so to complete, depending on the speed of your system and the size of the drive. Once it is complete, you will asked if you want to patch the drive, select "Yes".
And that's it, you're done. Congratulations!!!
